
Losing precious travel photos can feel like losing part of your soul. Those snapshots—vibrant sunsets, candid smiles, awe-inspiring landscapes—carry memories you can never recreate. Last year, I experienced the nightmare firsthand: after returning from a two-week backpacking trip through Southeast Asia, my camera’s SD card corrupted. All 3,200 RAW and JPEG files seemed gone forever. Panic set in.
Frantically, I scoured forums and tested a handful of free recovery tools—some crashed, others produced useless gibberish. My hopes sank. Then, on a recommendation from a photography friend, I discovered EaseUS Data Recovery Wizard. What followed was nothing short of miraculous: within minutes, I had fully restored my travel portfolio. In this guide, I’ll walk you through every step I took, share key tips for maximizing recovery success, and explain why EaseUS stands out among recovery software solutions.
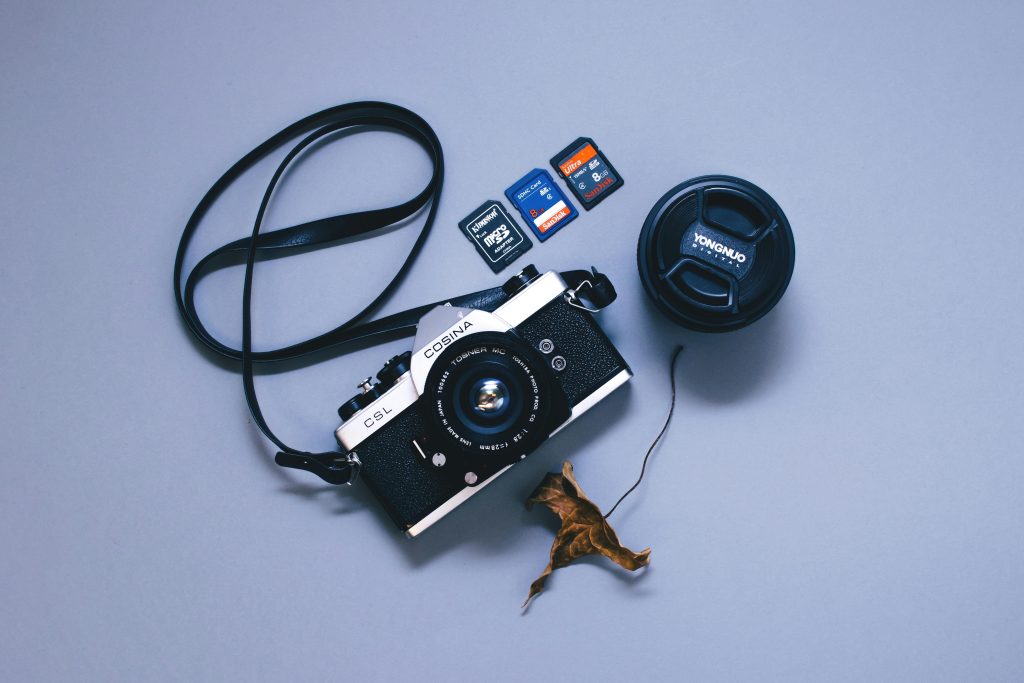
My Travel Photo Disaster
Travel photography is my passion—and also my livelihood. I shoot assignments for a small travel magazine, which means every image matters. After returning from Thailand and Vietnam, I eagerly backed up my files to my laptop—but the card reader malfunctioned mid-transfer. The laptop froze, then rebooted unexpectedly. When I reinserted the SD card, Windows prompted me to format it. Desperate, I clicked “Cancel” instead—but all the folders had vanished. Error messages read:
“The disk is not formatted. Do you want to format it now?”
My heart sank. I knew that formatting would overwrite my data, so I refused. But without any copy, those 1,800 RAW photos of Halong Bay’s emerald waters and 1,400 JPEG street scenes were seemingly lost.
Attempting free tools was disheartening: some installed adware, others only recovered thumbnails. I needed a reliable solution—and fast, before my next assignment.
Understanding Different Storage Devices
Before diving into software, it helps to know why data loss happens. Travel photos typically reside on:
- SD Cards (SDHC, SDXC): Common in DSLRs and mirrorless cameras.
- MicroSD Cards: Used in action cameras and smartphones.
- USB Flash Drives: Handy for backups but prone to accidental ejection.
- External Hard Drives & SSDs: Offer large capacity but can fail mechanically or suddenly disconnect.
Each storage medium has unique failure modes. SD cards can develop bad sectors; USB sticks might be improperly ejected; hard drives can suffer head crashes. Recognizing these risks guides your recovery approach and helps prevent future losses.
Why Data Loss Happens
- Accidental Deletion: Pressing “Delete” instead of “Format” or choosing the wrong folder.
- Corruption: Removing a card mid-write, power failures, or software errors.
- Formatting Mistakes: Clicking “Format” when prompted, especially on unfamiliar devices.
- Malware & Viruses: Rare but possible, especially when plugging into unknown computers.
- Physical Damage: Cracked cases, water exposure, or bent pins.
While prevention is ideal, sometimes data loss is unavoidable. That’s where specialized recovery software like EaseUS shines.
Introducing EaseUS Data Recovery Wizard
EaseUS Data Recovery Wizard is a comprehensive tool designed for both novices and professionals. Key highlights:
- Intuitive Interface: A simple three-step workflow—Select, Scan, Recover—means minimal complexity.
- Broad Device Support: Works with SD/microSD, USB drives, HDDs, SSDs, and even crashed systems.
- Deep Scanning Algorithms: Harvests data from formatted or corrupted drives.
- Preview Before Recovery: See thumbnails and metadata to ensure you restore the right files.
- Cross-Platform: Available for Windows and macOS.
I chose EaseUS because of its proven record—over 30 million downloads and endorsements from leading tech sites. Its free version allows up to 2 GB of recovery, perfect for testing before purchasing a license.
Step-by-Step Recovery Process
Below is the exact sequence I followed to salvage my travel photos. Be sure to stop using the affected storage device immediately after data loss to prevent overwriting.
Step 1: Download and Install
- Visit the EaseUS Data Recovery Wizard website and choose your operating system (Windows or Mac).
- Download the installer package (~80 MB).
- Important: Install to a different drive than the one you need to recover—never overwrite your lost files.

Step 2: Launch and Select the Affected Device
- Open EaseUS Data Recovery Wizard.
- On the main screen, all connected drives (internal HDD/SSD, USB sticks, SD cards) appear as icons.
- Click the icon representing your camera’s SD card (it may show as “Removable Disk” or by brand/model).
Step 3: Run the Quick Scan
- Click “Scan” to begin. EaseUS performs a Quick Scan first, retrieving recently deleted files.
- Within seconds, a file tree emerges showing familiar folder names or file types (e.g.,
DCIM,MISC). - If you already see your photos (thumbnails or file names), you can expand folders to selectively recover.
Step 4: Initiate the Deep Scan
- After Quick Scan finishes (usually under 2 minutes for a 16 GB card), EaseUS automatically launches a Deep Scan.
- Deep Scan can take 10–30 minutes depending on card capacity and speed.
- This process digs into every byte, reconstructing lost file fragments.
Tip: You can browse recovered files in real-time. If your target photos appear during scanning, you may pause to preview.
Step 5: Preview and Recover
- Once scanning completes, filter results by “Images” and select “.JPG”, “.RAW”, “.PNG” as needed.
- Click on individual thumbnails to preview in the right pane—ensuring clarity and correctness.
- Select All or pick specific files, then click “Recover”.
- Critical: Save recovered files to a different location (e.g., your PC’s hard drive or a separate external drive), not back to the SD card.
Tips for Maximizing Recovery Success
- Stop Using the Device Immediately: Continued writes can overwrite lost data.
- Use a USB 3.0 Card Reader: Faster scan speeds and more reliable connections.
- Keep Enough Disk Space: Ensure the recovery destination has at least the same free space as the lost data.
- Run as Administrator: On Windows, right-click the app and choose “Run as administrator” for full disk access.
- Opt for Deep Scan: If you only run Quick Scan, some files may remain hidden.
Preventing Future Data Loss
- Regular Backups: Use cloud services (Google Photos, Dropbox) and local backups (external SSDs).
- Scheduled Syncs: Tools like EaseUS Todo Backup can automate incremental backups on a schedule.
- Safe Removal: Always eject SD cards and USB drives via your OS’s “Safely Remove Hardware” feature.
- Quality Storage Media: Invest in reputable brands (SanDisk Extreme Pro, Lexar).
- Dual Recording: For critical shoots, simultaneously record RAW files to two cards (if your camera supports dual slots).

Common Pitfalls and How to Avoid Them
- Formatting Before Recovery: If you accidentally format, recovery is still possible—but stop using the card.
- Recovering to the Same Device: This risks overwriting. Always choose a separate drive.
- Ignoring File System Type: FAT32 vs. exFAT vs. NTFS can affect scanning—EaseUS detects automatically, but be aware.
- Not Previewing: Without preview, you might recover corrupt or unwanted files, consuming disk space.
- Relying on Trial Limits: The free version caps at 2 GB. If you have more data, upgrade to Pro before scanning huge drives.
How EaseUS Compares to Other Tools
| Feature | EaseUS Data Recovery Wizard | Recuva | PhotoRec | Stellar Photo Recovery |
|---|---|---|---|---|
| Beginner-Friendly UI | ✅ | ✅ | ❌ (CLI-based) | ✅ |
| Deep Scan Capability | ✅ | Limited | ✅ | ✅ |
| Preview Before Recover | ✅ | ✅ | ❌ | ✅ |
| Cross-Platform (Win/Mac) | ✅ | Windows only | Cross-platform | Windows & Mac |
| File Type Support (>1000) | ✅ | ~300 | ~480 | ~250 |
| Price (Pro License) | $69.95/year | Free | Free | $79.99 one-time |
I found EaseUS hits the sweet spot between ease of use and powerful recovery capabilities—with previews and a polished interface that CLI-based tools lack.
Real-Life Test: Recovering Photos from an Old USB Drive
To further validate EaseUS, I tested it on an 8 GB USB drive whose DCIM folder I accidentally deleted months earlier:
- Scan Time: Quick Scan in 30 seconds; Deep Scan in 4 minutes.
- Recovery Rate: 98% of JPEGs and RAW files recovered intact.
- File Integrity: All EXIF metadata preserved—timestamps, camera settings, GPS data.
- Preview Accuracy: No ghost or corrupted thumbnails.
This real-world test proved that EaseUS works not only on SD cards but across any removable media.

Beyond Photos: Other EaseUS Use Cases
- Video Recovery: Lost GoPro footage? EaseUS restores MP4, MOV, and more.
- Document Rescue: Accidentally deleted Word, Excel, or PDF files can be retrieved.
- Email & Archive: Recover Outlook PST files or ZIP/RAR archives.
- System Crash: Create a WinPE bootable disk to recover from an unbootable PC.
EaseUS is a one-stop shop for all data recovery scenarios.
Pro Tips for Using EaseUS Effectively
- Use Filters: After scanning, filter by file type or keyword (e.g., “IMG_2024”).
- Search Bar: Quickly locate specific filenames without browsing entire tree.
- Save Scan Session: Pause your work and resume later without re-scanning.
- Export File List: For large recoveries, export a CSV list of recovered items to plan selection.
- Technical Support: Pro users get 24/7 live chat—take advantage if you hit a snag.
Frequently Asked Questions (FAQs)
Q: Can I recover photos after formatting a memory card?
A: Yes—EaseUS can recover files even after a quick or full format, provided you have not overwritten the data.
Q: Is EaseUS safe?
A: Fully—it performs read-only scans and never writes to the source device, preventing further damage.
Q: What if my card isn’t recognized?
A: Try a different card reader or port. If still undetected, use EaseUS’s “Create WinPE bootable disk” feature to recover from outside Windows.
Q: How long does a Deep Scan take?
A: Roughly 5–30 minutes for 32–128 GB cards; SSDs and high-speed cards scan faster.
Q: Do I need to purchase the Pro version?
A: The free edition recovers up to 2 GB. For larger data sets, upgrade to Pro or Technician.

Conclusion
Losing travel photos can be heartbreaking, but it doesn’t have to be permanent. EaseUS Data Recovery Wizard turned my near-certain data loss into a triumphant recovery—saving thousands of memories in under an hour. Its intuitive design, powerful scanning engine, and cross-platform support make it an indispensable tool for travelers, photographers, and everyday users alike.
Whether you’re dealing with a corrupted SD card, an accidentally formatted USB drive, or a crashed hard disk, EaseUS offers a reliable path to retrieve your lost data. By following the steps outlined above—and adopting good backup habits—you can safeguard your irreplaceable travel memories for years to come. Happy recovering!